If you are new with the grass trimmer, probably you don’t know how to install DeWalt trimmer line correctly, right?
In fact, this job is really simple and won’t take much of your time. All you need to complete the job is to follow the right process.
So, we are here to help you. In this article, you can find the clearest instruction to assemble the machine and get it to work ASAP.
Let’s have a look!
How Does a Trimmer Line Work?

Before instructing you how to install Dewalt trimmer line, we want to explain to you the operation of this trimmer equipment.
In general, a string grass trimmer applies a monofilament line to trim through grasses, brushes, weeds, and small plants.
While operating, the trimmer’s cutting head will spin at a super high speed in order to make a centrifugal force.
This force will hold the trimmer line out at a horizontal angle, increasing the cutting accuracy.
Typically, the height and arc of a weed eater can manually be modified by users to easily cut around the big trees, walls, beds, and so on.
In fact, different brands have different types of trimmer lines.
But commonly, those pieces of equipment (including Dewalt’s models) can be switched out to suit some line gauges.
Depending on the gauges and the working purposes, you will know which lines are suitable to buy. Overall, the popular types of these tools are:
- Thinner spooled line
- Thicker pre-cut line
- Serrated lines
- Square lines
- Blades
- Chains
On the other hand, the trimmers line also has many shapes, but we will talk about this feature in the next section.
Different Shapes of the Trimmer Line
As we have mentioned above, there are plenty of trimmer line shapes. Each shape creates a specific effect on the grass trimming efficiency. More specifically, these shapes are:
- Rounded shape
- Twisted shape
- Square shape
- Star shape
- Serrated shape
Among these 5 shape types, the most common one is the rounded lines. However, this line shape has lacked the cutting edge, so the lines may rip the weed instead of trimming it.
In comparison to the rounded type, the twisted shape lines can work better because they have more trimming edges.
Also, the square, serrated, or star shape usually has sharper edges, making them the top choices for trimming grass.
But here is something you might need to remember: The serrated type has teeth that are ideal to trim through the large grasses and hard weeds like cutting through butter.
How to Install Dewalt Trimmer Line Guide?
From here, we will dive deeper into the main part to find out how to install Dewalt trimmer line.
Step 1: Getting Rid of the Trimmer Head
We have to admit that removing the trimmer head is the most complicated process of the whole installation because each model requires different methods to remove the head.
Luckily, with all the trimmer models made by the Dewalt company, you only have to use one method. Even with some 20V Dewalt models, you don’t need to take out the head before assembling the line.
Firstly, inspect the battery to know if it still has electricity or not. If yes, operate the machine for a while until it runs out of power. Then, remove the battery and lay the device down.
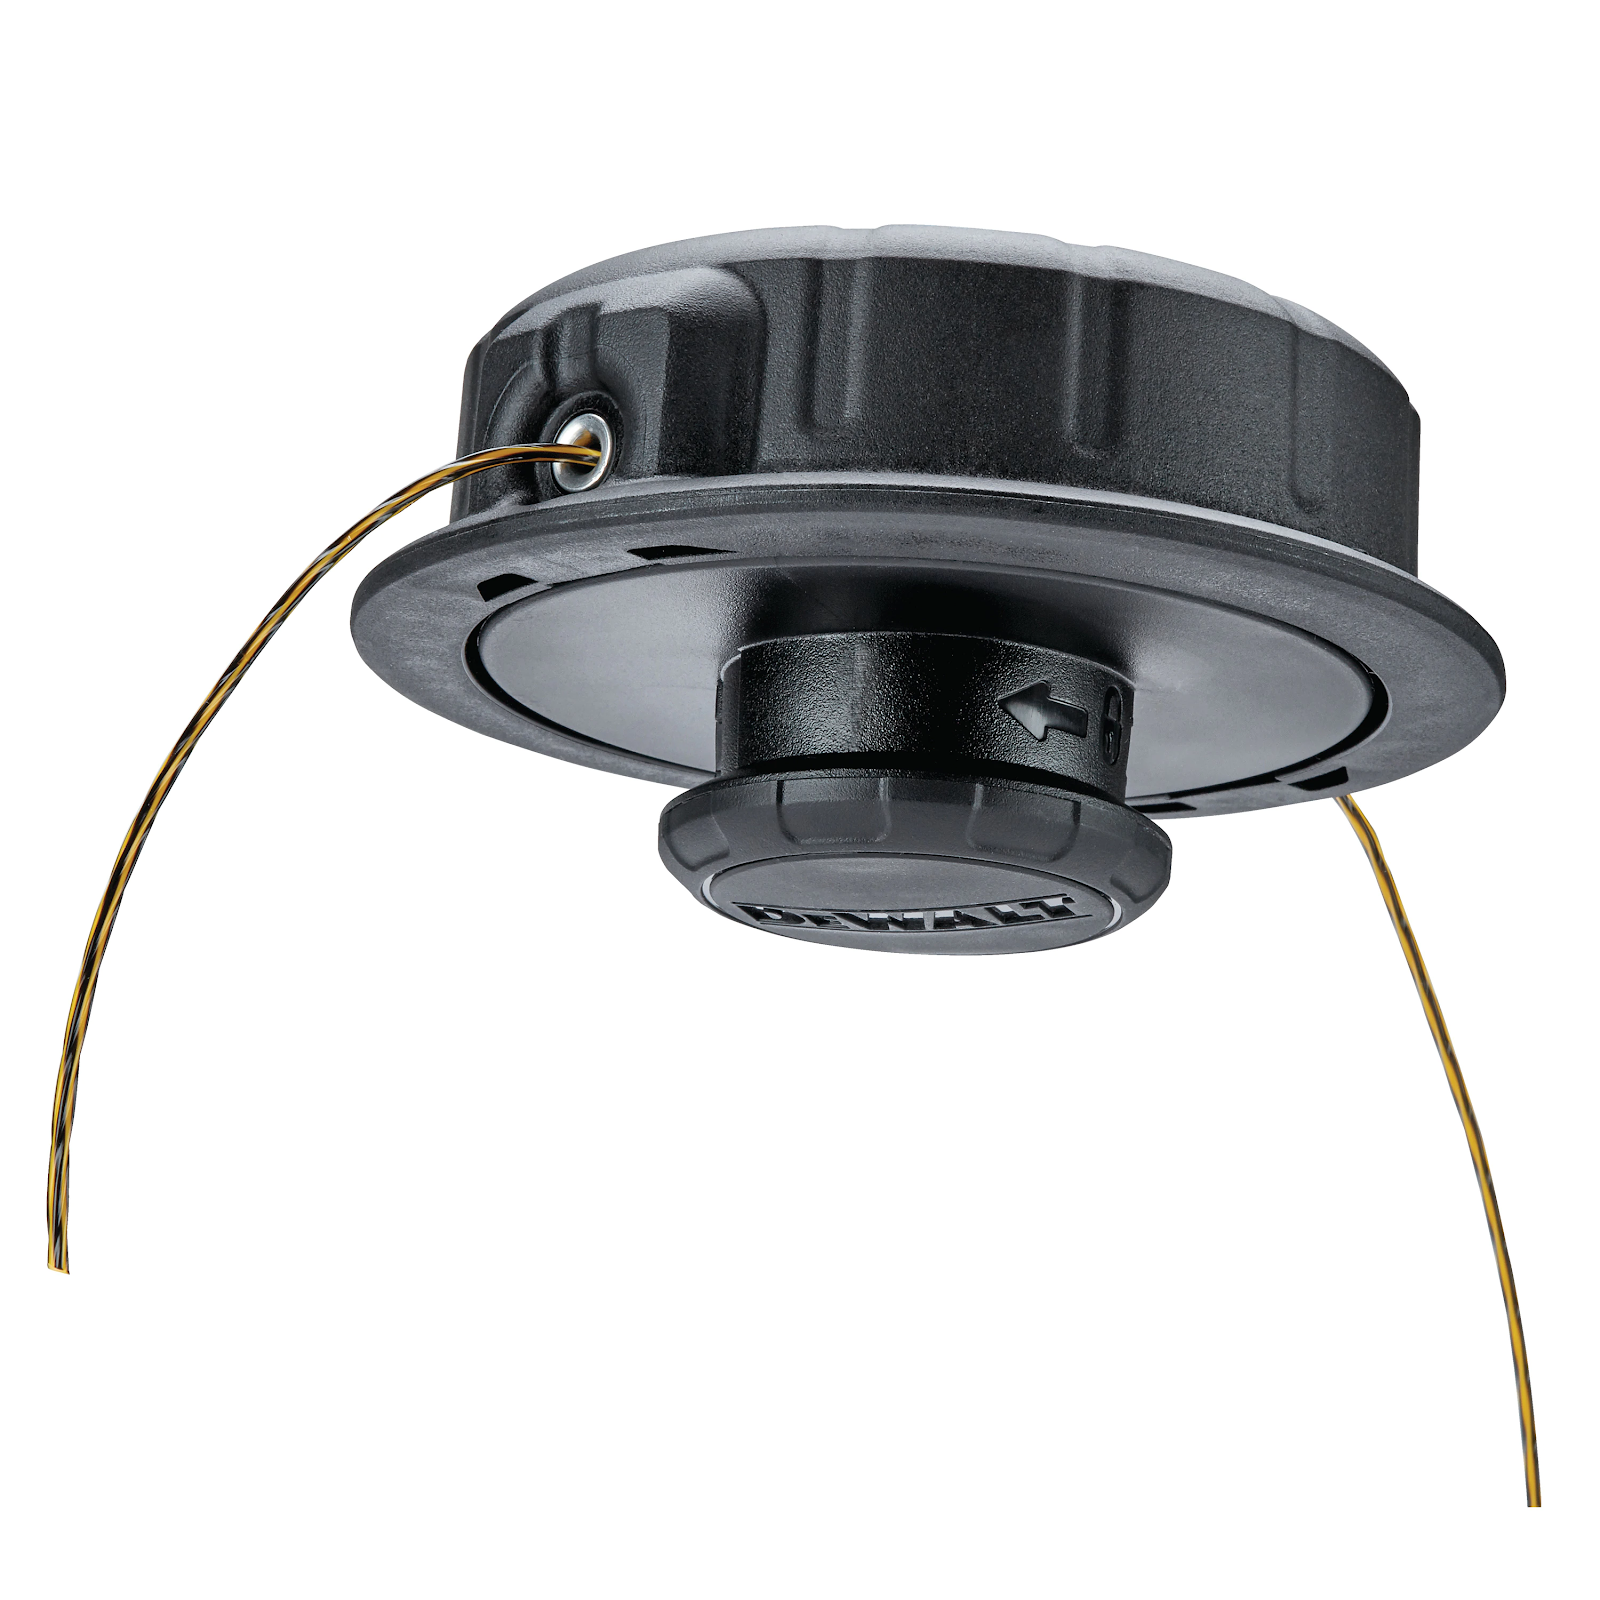
Now you are able to see the head and an indicator knob of the trimmer.
At this time, the trimmer head is temporarily locked in a stable position and you have to unlock it.
Press down on the trimmer head and spin it from right to left. While you are doing this, the indicator knob also spins to get out of the spool.
As the knob comes out of the locked position, the trimmer head will be freed up and you are able to pull it out of the cradle.
Note:
If you don’t pull the head out correctly, you may damage the whole unit and the mechanism lock of the machine.
So make sure that you pull the head straight up.
Step 2: Winding the Line With a Quick Load

If you have finished taking out the trimmer head, then we will move on to the next step. During this process, you will have to wind the line with a quick load.
First, you should check out the head. Make sure that all the holes in the headline are up straight.
If everything is right, attempt to bring the strimmer lines throughout these holes from one end to the other.
These lines should come about 2 – 3 feet of line. When you have completed, keep the lines in the center.
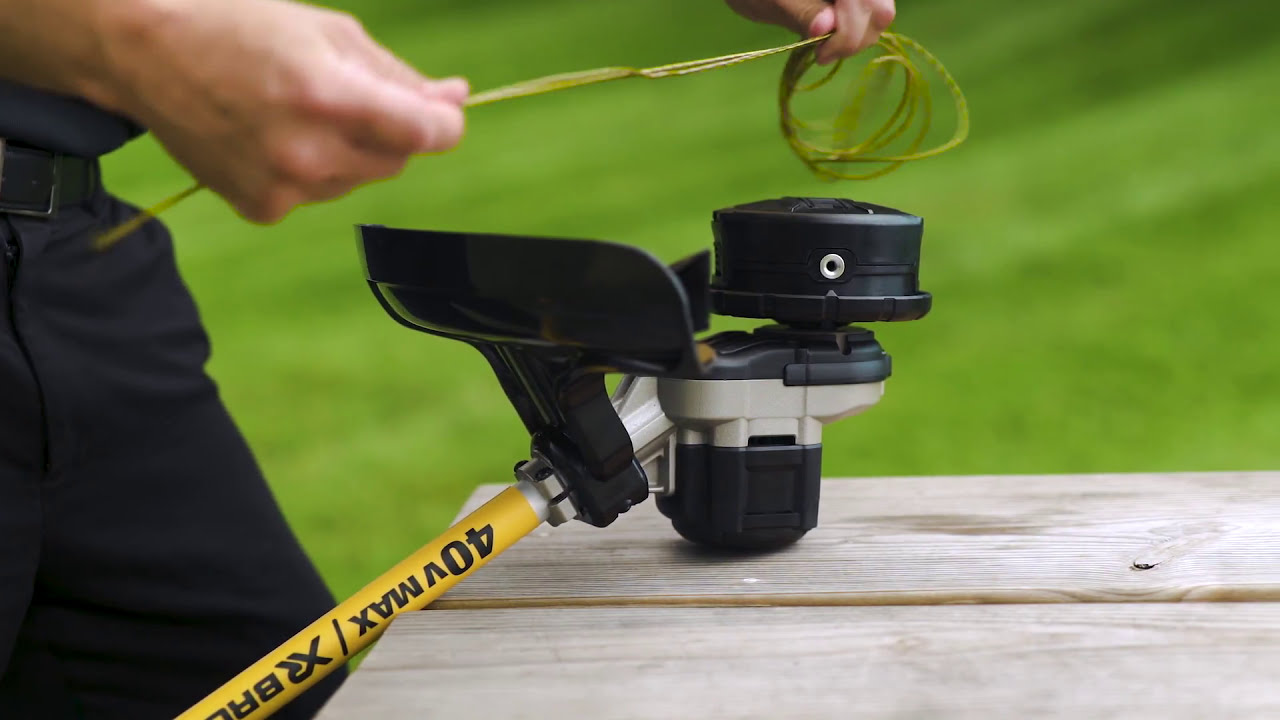
Next, see the head and find the “arrows” sign on it. Put your open hand on the trimmer head, place your 5 fingers around it and spin in the direction as the “arrows” sign tells you.
After completing, rotate it and you will see 2 – 3 inches of the trimmer lines go out. If no line gets out of the head, come back to the very beginning of step 2, and repeat the process again.
Step 3: Winding the Line With a Traditional Head

If your Dewalt device does not have a quick load head, probably it is only equipped with a dual feed. In order to load this dual-feed machine more easily, you need a tool called Flat Head Screwdriver.
Also, before you begin to wind the lines, make sure that these lines are at least 10 feet long.
Okay, now get started with the lines that are farthest away from the front of the head. Check out the “arrows” sign in the trench and follow the direction of these arrows to wind those trimmer lines.
Remember to wind these lines nicely and neatly across the trimmer trench. Otherwise, you may get stuck or meet some blockages while running the device.
After you complete winding, if there are still more than 6 inches of the lines on the left, you can place them into a groove between two compartments of the lines.
Note:
Have you finished the above process yet?
If yes, then you can now do the same method of winding with the second line.
In case the lines don’t stop popping out of the hole while being winded, you can use the screwdriver to hold them in a stable position.
In Conclusion
In conclusion, we have taught you all the vital steps on installing Dewalt trimmer line correctly. Just follow our steps carefully and you will be satisfied with the final result.
If you still get into trouble while trying to assemble the Dewalt device line, do not be afraid to get in touch with us.
We will, once again, go through all the details and show you how to install the Dewalt trimmer line in the most easy-to-comprehend manner.
A visual video would be more helpful